Gardening – Building a Better Mini Greenhouse
As mentioned in my previous gardening post, I have to start seeds outside due to the presence of cats inside. To achieve this goal, I ordered a mini greenhouse that seemed like it would work well enough for my little operation.
The first mini greenhouse I ordered was the Misco GH31 Three Shelf Greenhouse and, well, it sucked. The plastic struts were brittle and broke when the metal rods were inserted. The top plastic struts were miscut so that the metal rods didn’t even fit. I used quite a bit of duct tape to secure the metal to the plastic and figured it would be good enough to last until I found a better solution.
The second greenhouse I ordered was the Esschert Design GT32 Hardwood Small Greenhouse. With a hefty price tag and quality materials, I figured I’d be all set. Sadly, when it arrived, the hinges were damaged beyond use, one of the wood frames had come apart, and the wood was gouged in a number of places. Really neat design but super poorly manufactured. (The shipping box didn’t show any damage, so it seems that the product was just very poorly assembled.) This one got returned to Amazon with quite a bit of disappointment. It had so much potential!
Next, I decided that the MacGuyver’d greenhouse would suffice for this first season and that Art and I could take our time to build a better one together. Shortly after I made this decision, the zipper decided to detach from the plastic, requiring more duct tape, and causing me to reevaluate my decision to wait.
After thinking about possibilities, I decided that the best, and hopefully easiest, option would be to build a wood frame out of 1x3s that would surround a purchased shelving unit. We picked up this unit from our local Home Depot, wood, hinges, brackets, screws, wood glue, and waterproofing. And lath, sponge brushes, a drop cloth, and probably a few other things I’ve forgotten about.
We built three walls, a door, and a top. The goal was two tops – one to frame and give support and one that would be hinged - but I realized late last night that I’d measured for the tops wrong, so we couldn’t build them as planned. We did end up using one of the incorrect ones anyway, but we’re going to attach a hinged top later on that will allow for better temperature control once the days warm up. We’re also going to build an interior frame for the door to give the whole structure more support that it has now.
For the most part, everything went well. Then we got to the part where we put the door on and things stopped going so well. We had picked up the wrong size of hinges and what we had doesn’t quite do the trick. It’ll work for now and I’ll be able to handle a few minor adjustments by myself during the next few weeks. Art and I got the bulk of the work taken care of and it’s certainly functional as it is now!
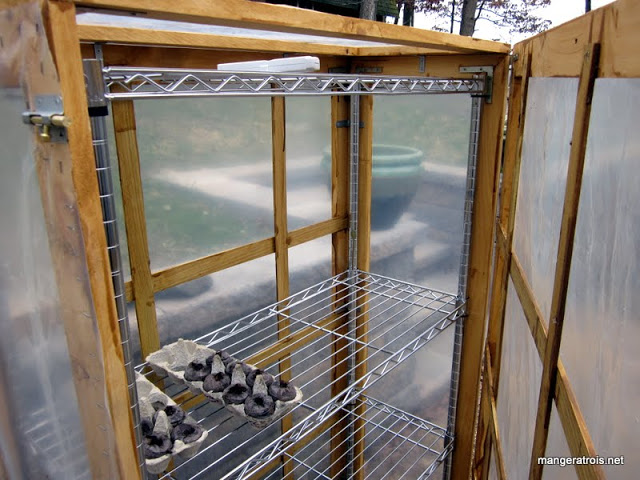
Right now I’ve only got two cartons of seeds starting – parsley and lettuce. The white thing on the top shelf is the remote sensor for the weather station.

The whole thing! The bin on the bottom is from the defective composter (the company has since sent us a new one that ROCKS so far) that will eventually be filled with compost to help warm up the air in the greenhouse.
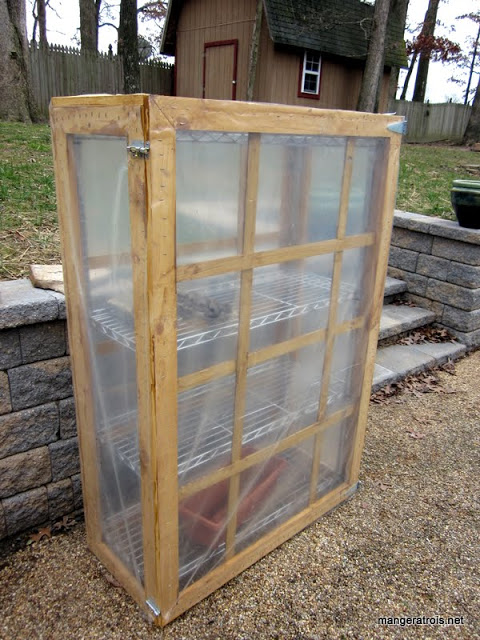
With the door closed. We used 6mil greenhouse film to cover the walls.
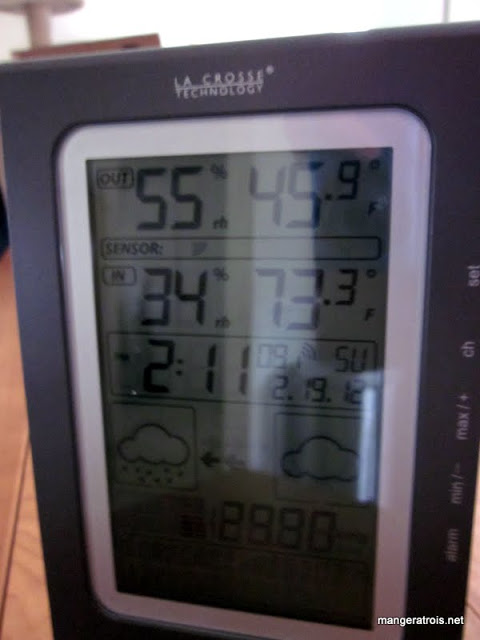
This is the weather station receiver which we keep on the dining table. My parents gave us this for Christmas since my family sort of has this Thing about the weather. I tend to use NOAA and my eyeballs for the weather, so I thought that using the weather station to monitor the greenhouse’s stats was a great idea!